In the effort to customize our weddings we look for ways to take the traditional and put a twist on it. You don't want to use a traditional ring bearer pillow? Well. . .
Here is how you turn this
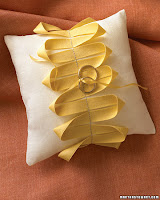
into this.

I found this on
Martha Stewart Weddings a while ago and when I was planning my wedding, I wanted to do this. However, as working a full time job and having no money, so the way it always goes, I never got around to it. When my mother-in-law came to me with a Marine ring bearer pillow
(my husband is a Marine) that she already bought, I figured, "Well, one less expense and I know my husband would like it." So, away the book project went.
Okay, now on to the how-to. Martha Stewart Weddings explains
how to make it on their website, but didn't quite get down to the nitty. With only two pictures, you'd be jumping in blind! Also, it is easy to make with things around the house rather than buying fancy craft items.
Step by step, here we go!
What you will need:
~ Hardcover book or journal. You know those cheap hardcover books at the store of the classics? Get that and you got a bargain! Or, maybe you already have some dusty hardcover layin' around the house!
~ Glue Stick
~ Box cutter
(even though I used a knife because I couldn't find our box cutter, which I wouldn't recommend) ~ Some ribbon, or lace, or whatever you want to personalize your book!
~ Pencil
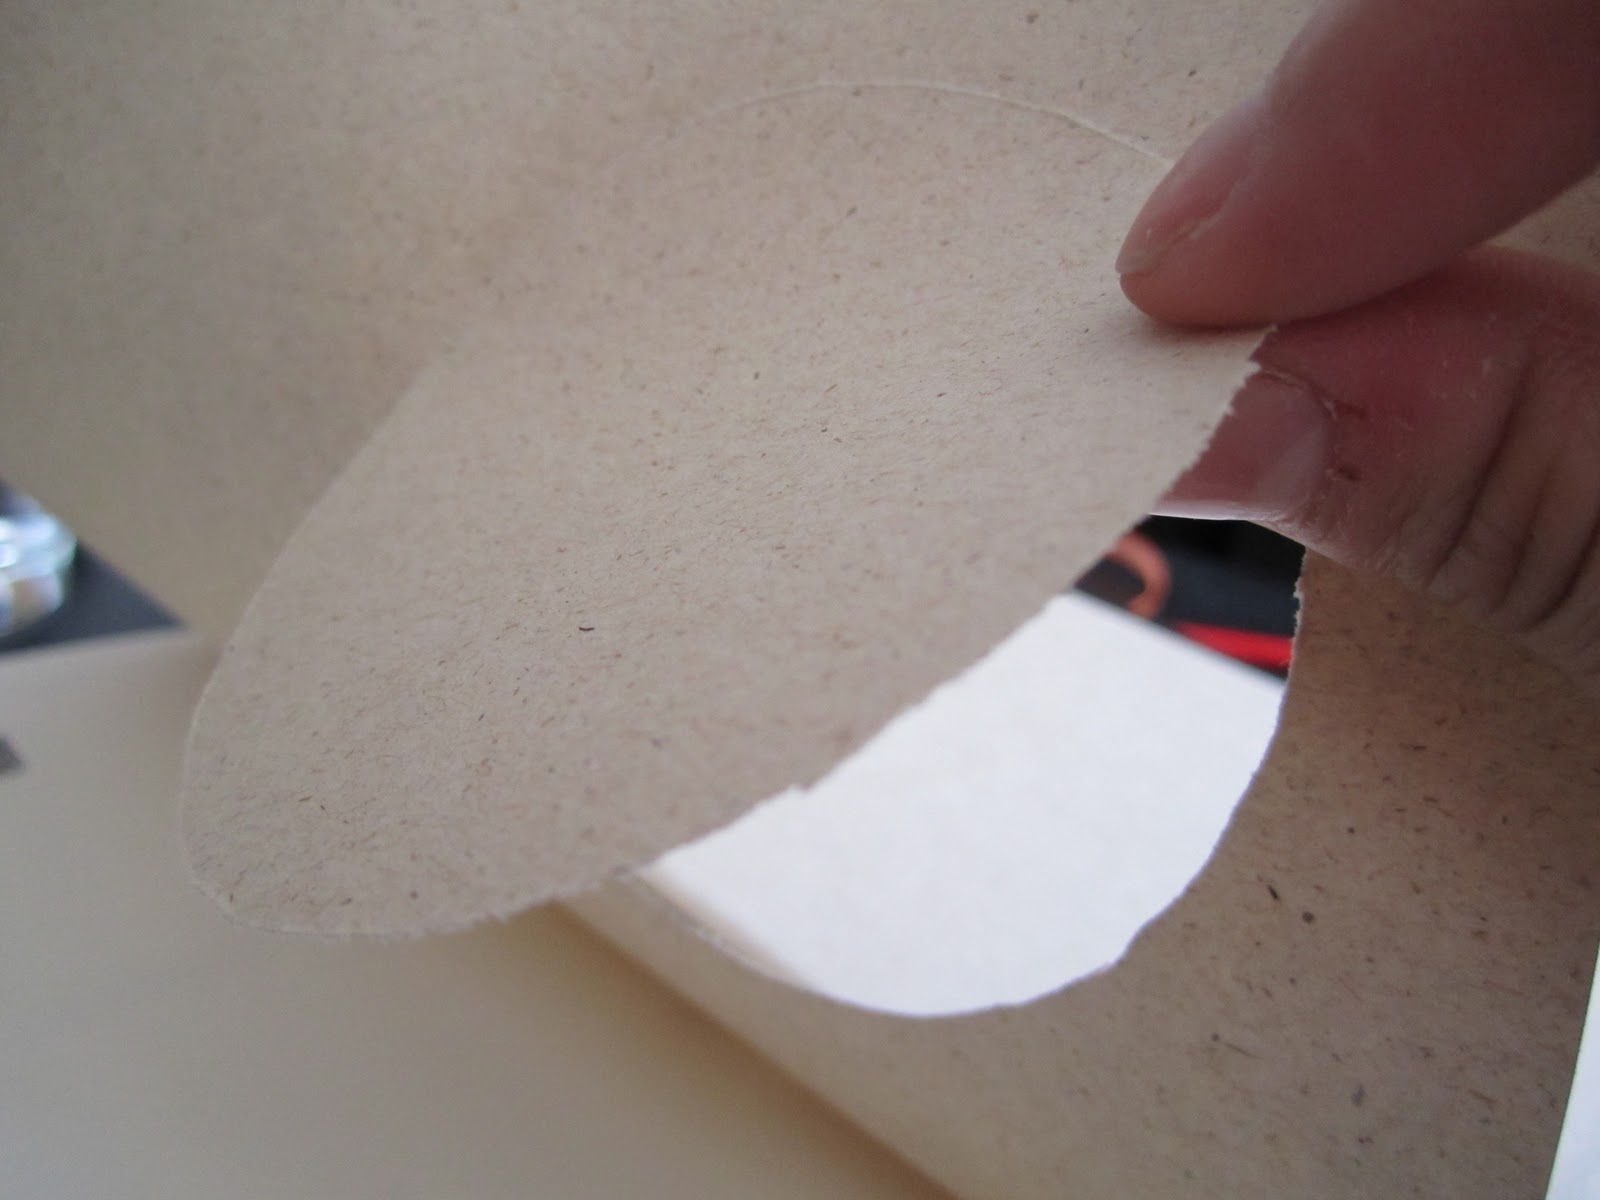
Step One: Use something, I used a drinking glass, to trace a circle, or whatever shape you want on the inside cover page of the book. If you have a book that tugs the first few pages when you open the cover, start your hole a few pages into the book.
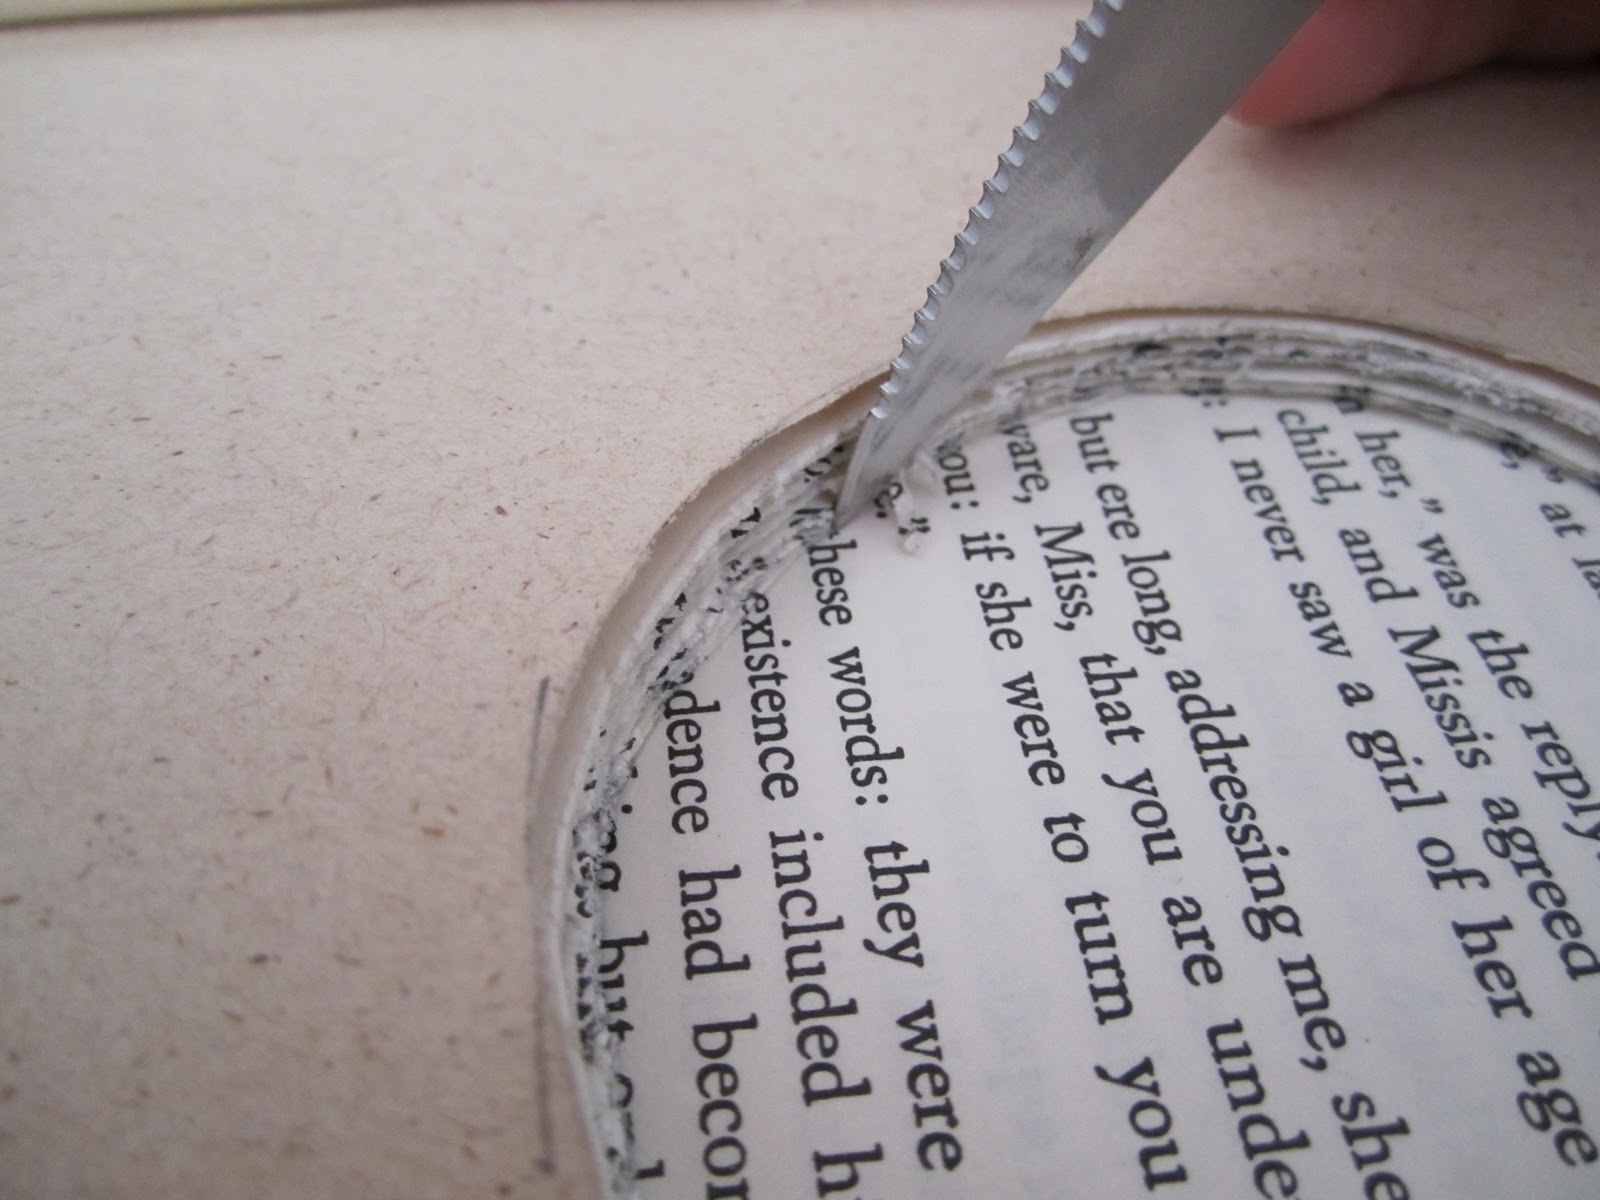
Step Two: Use the box cutter, or craft knife to cut out the circle. Press down pretty hard so that you get more pages. I was able to get about 3 pages with each cut. You will see, I used a regular knife and it wasn't fun.
The circles will pretty much punch out.
Repeat the process until you get the depth of the hole you want. I did 21 pages and decided it was enough.
Step Three: Glue the pages together. I found you don't have to glue every page because it sits in place just fine.
Step Four: Attach the ribbon for the rings. I used a pencil to poke a hole and punch the ribbon through.
Punch another ribbon through and tape the ribbons down behind the page.
Step Four: Personalize the cover however you like. If you don't like the words on the side of the spine, you can cover it up with ribbon like I did.
Finished shot. (I didn't have my husband's band since he was gone. I used my two rings instead.)
I think I am going to do something with the circles and post about them in the future. :)
God Bless!
"... I press on to take hold of that for which Christ Jesus took hold of me." ~Phillippians 3:12 NIV
 into this.


You need to be a member of BridalTweet Wedding Forum & Vendor Directory to add comments!
Join BridalTweet Wedding Forum & Vendor Directory