

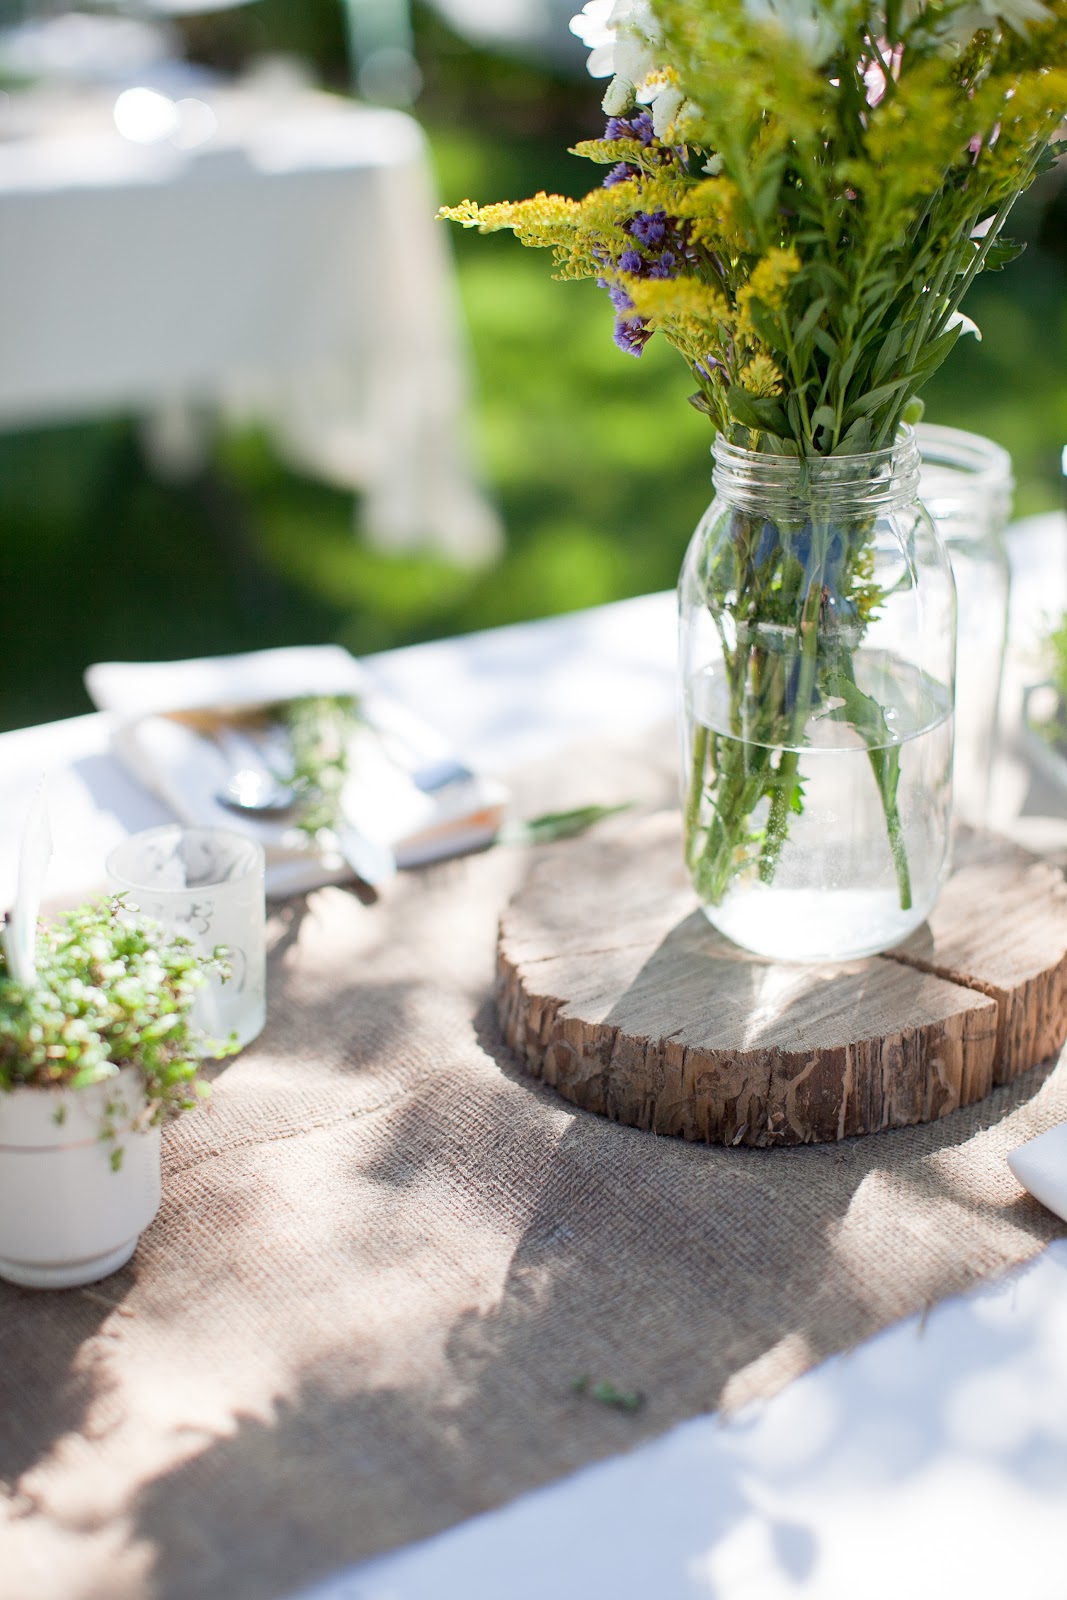
Items needed:
Wood log
Chainsaw
Step 1: Find a wooden log or stump (something wide enough to your liking).
Step 2: Use the chainsaw to cut off a slice of the wood.
This is great because it's a simple statement with a big impact. Plus, it's virtually free if you have any fallen trees on your property or wood stumps lying around.
You could probably also sand it and stain it but we liked the non-uniform natural look that the freshly chopped piece gave off.


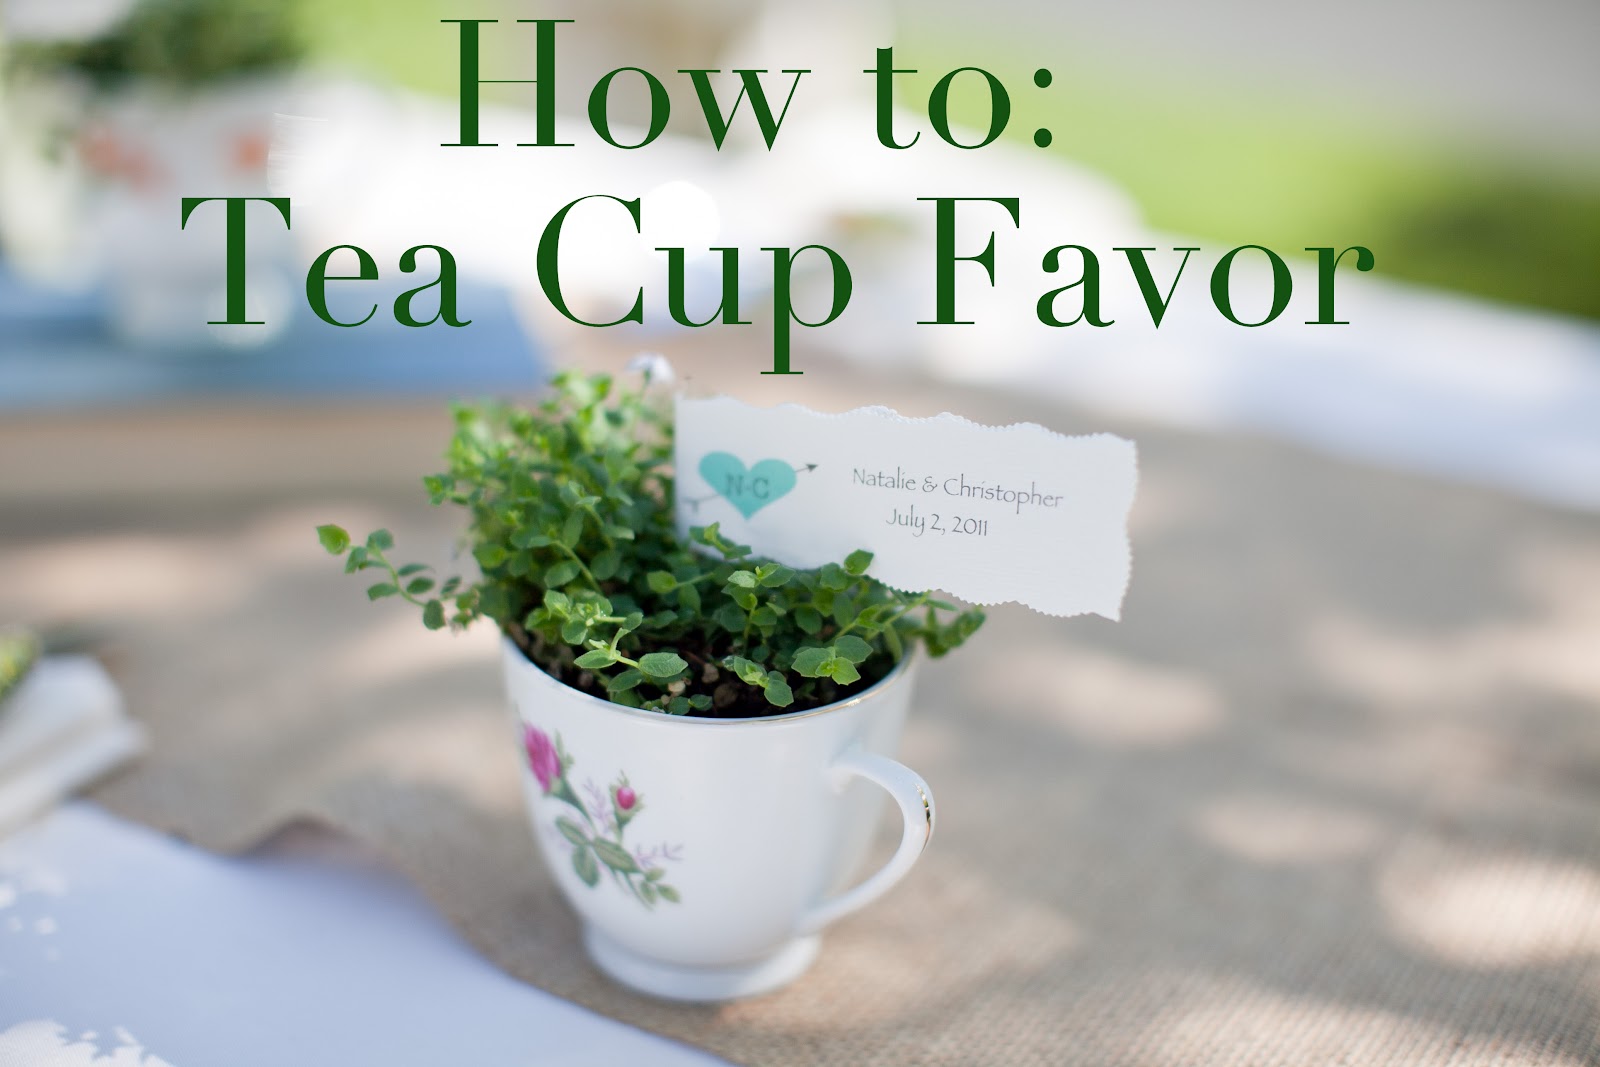
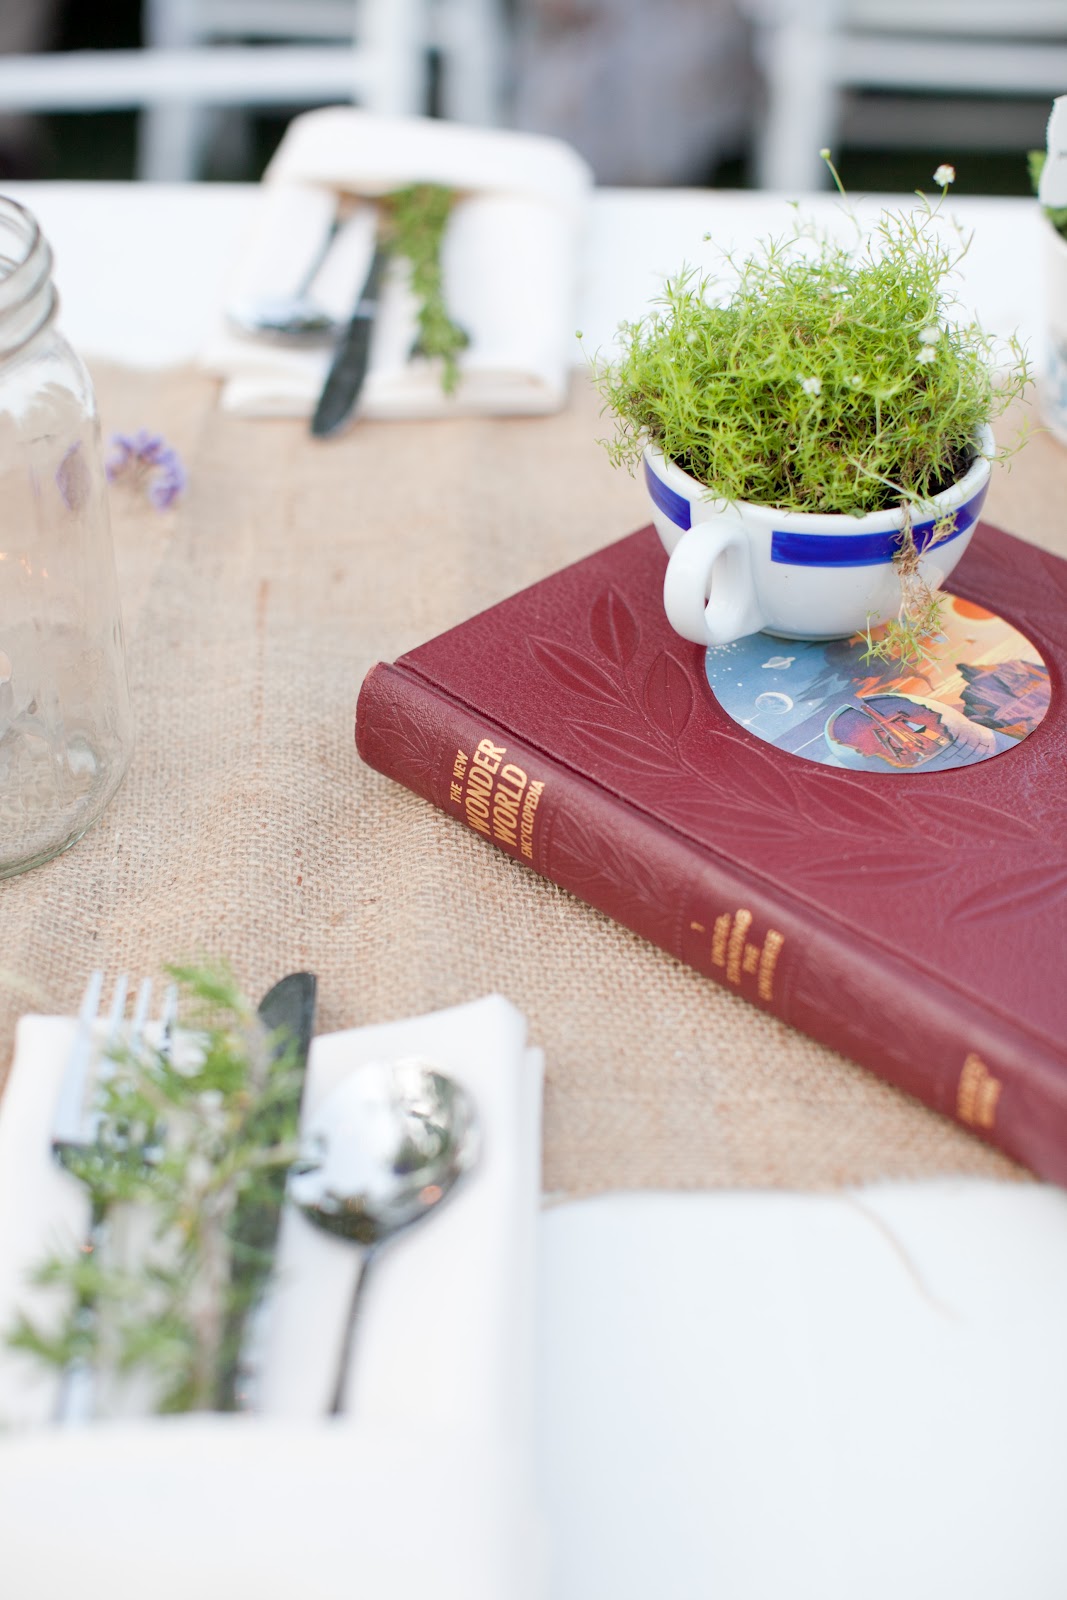
Items needed:
Teacups (recycle old ones - we found most of ours at thrift stores)
Low-maintenance plants (we bought a few flats of plants like Baby's Tears)
A little soil
Toothpick
Cardstock
Step 1: Decide how many teacups you want: One for each person, couple, or family. After you have purchased all your teacups, make sure to clean them out.
Step 2: Place your plant into the teacup. Depending on how deep your cups are or how tall your plant is you may need to add soil to the bottom of it to raise it up a bit.
Step 3: Print out whatever information you want on the cardstock (name of the plant, bible verse, quote, etc.). Fold over the toothpick and use glue to attach both side.
The best part about these is that they can be used as decorations for the table during the wedding. Also, they last a long time - we had friends say they still have their plants from a year ago!


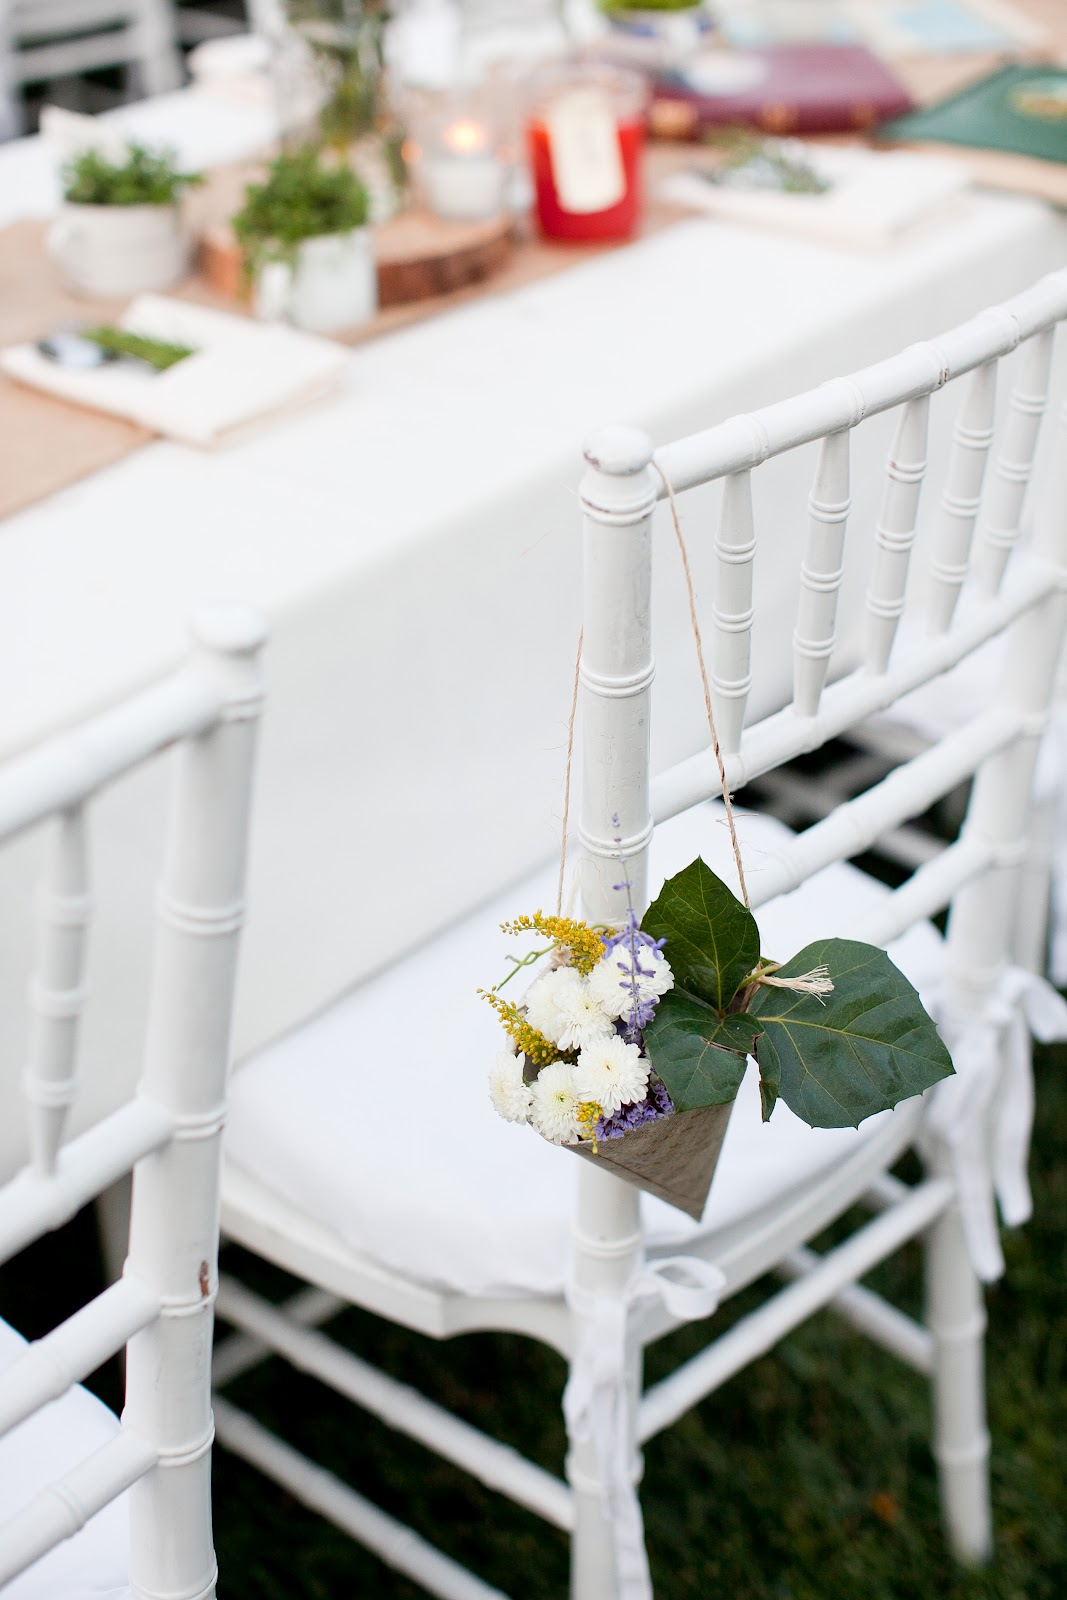
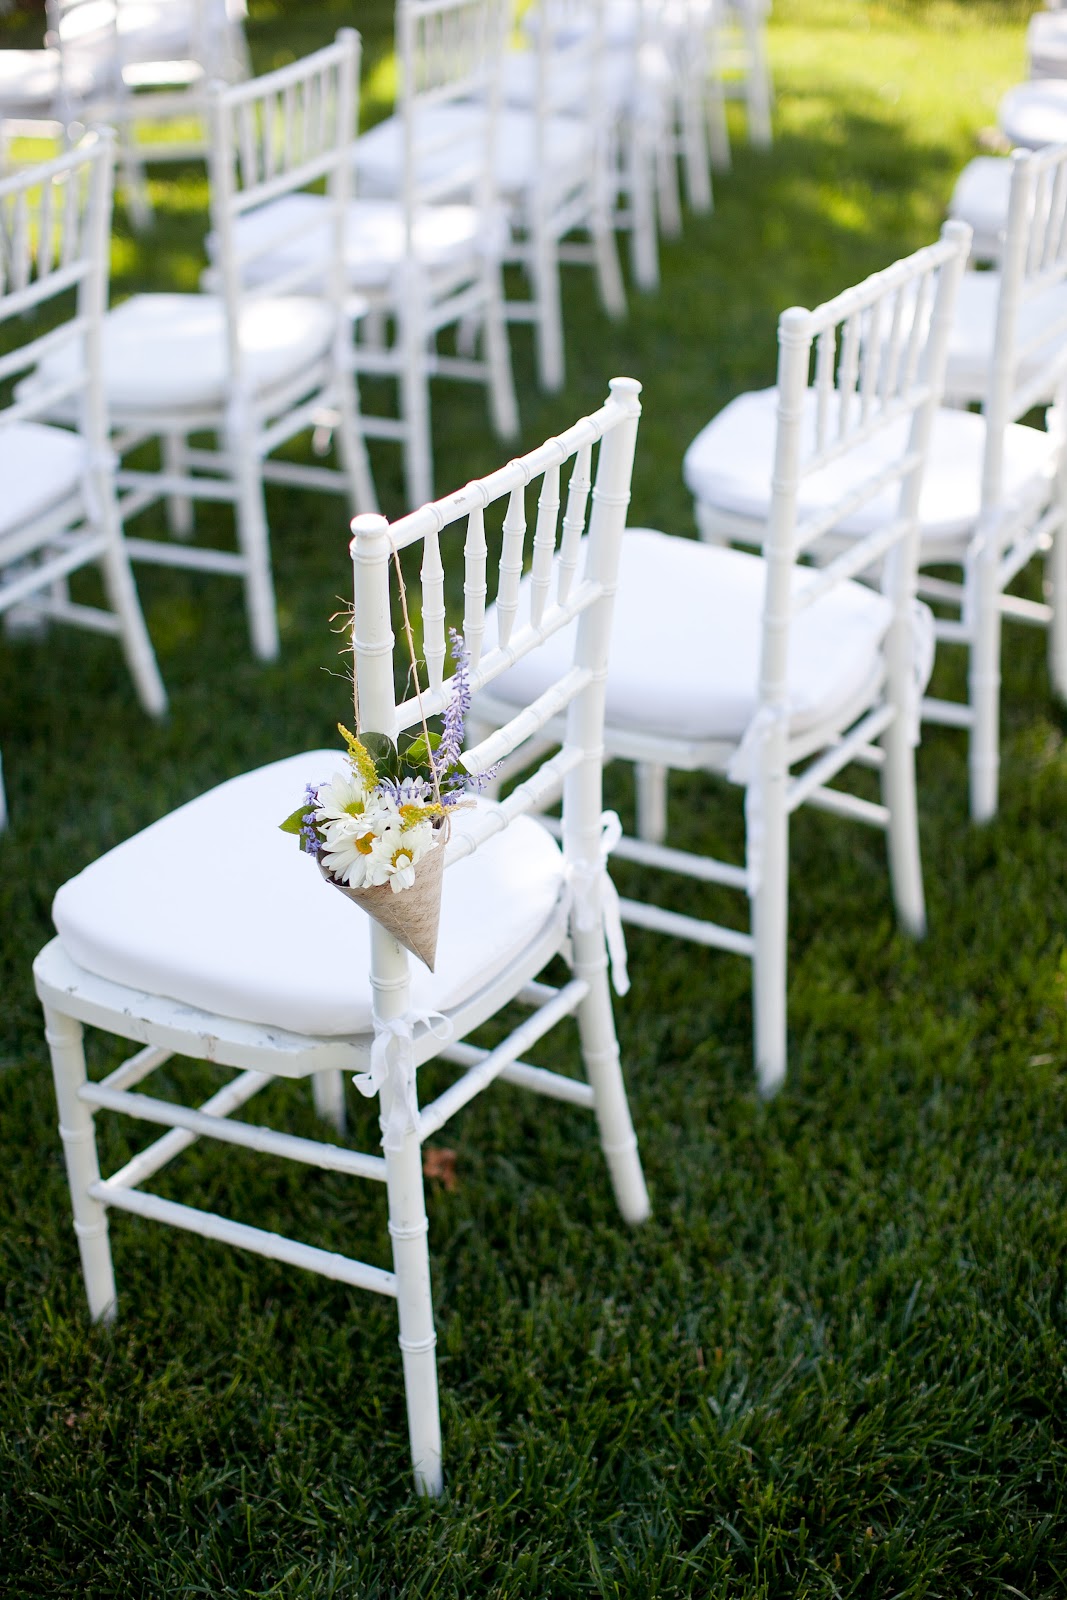
Items needed:
Scrapbook paper (we found one with music notes on it)
Ribbon, string, or twine
Scissors
Hole punch
Hot glue gun with glue
Florafoam
Step 1: Roll the scrapbook paper into a cone for the size you want. Fasten it down with hot glue.
Step 2: Punch out two holes for your twine or ribbon and attach.
Step 3: Wet down a piece of Florafoam and then place it in the cone.
Step 4: Arrange the flowers how you want.
Obviously don't make these too far in advance so the flowers don't die or wilt. When you're ready you can just hang them on the sides of the chairs.


Items needed:
Large fancy photo frame (we used a vintage one we found at an antique store)
Twine
Props - hats, mustaches, sunglasses, etc.
Step 1: Find a place to put the frame. We found a tree near the reception area.
Step 2: Tie the twine around the top of the frame and then hang on a tree branch at an average-height level so most people can put their face in the frame.
Step 3: Set up directions somewhere nearby so people know what it is for.
Step 4: Include fun props. We made mustaches out of felt and hot-glued them to wooden dowels.
Snap away!


Step 1: Find a place to attach the clothes line. We chose between two trees.
Step 2: Pin up all your images evenly distanced apart.
Step 3: Make sure they are all secure as the wind can catch the string and blow the pictures every which way.


 \
\


Views: 101
Write a Review or Comment
© 2025 Created by Christine Dyer.
Powered by
![]()

You need to be a member of BridalTweet Wedding Forum & Vendor Directory to add comments!
Join BridalTweet Wedding Forum & Vendor Directory