Here is the first post for the new DIY segment of Wedding Pickle! Like I mentioned at the beginning of the week, I wanted to add this because budget and making your wedding your own are some of the biggest issues brides face. DIY makes you wedding look great while saving you money. My first DIY find features something I thought could be inspiration for a centerpiece. I originally found this
project idea at
YoungHouseLove (one of my FAVE blogs!)
Here is how you make them:
You will need glasses and a resin based paint pen. (I had an oil-based paint pen on hand, and it still turned out)
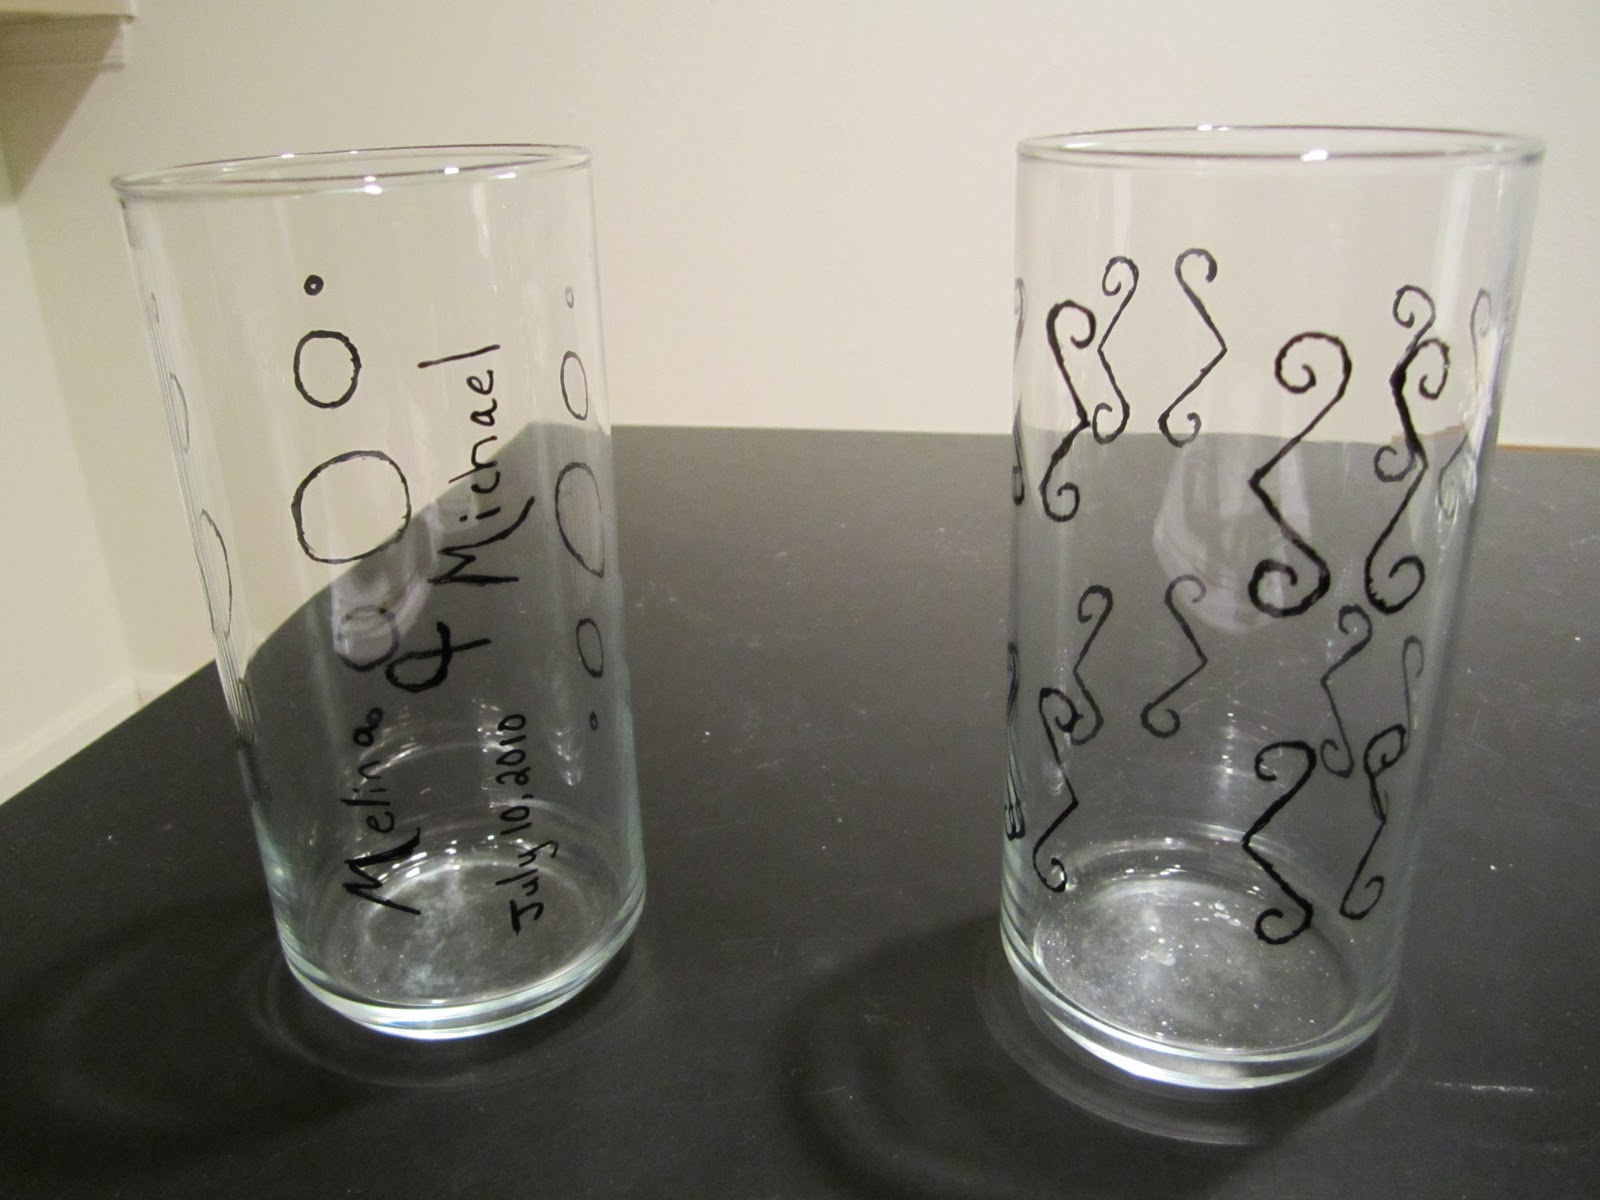
Step One: Paint your desired art design onto the glasses. Allow to dry for 24 hours. (You don't have to bake them unless you want the designs to be more durable.)
 |
| Silly, Whimsical designs can add a personal touch to your tables. |
Step Two: Put them in the oven and set the heat to 325 degrees. (You don't need to pre-heat to avoid cracking the glass from sudden temperature change.)
 |
| I only baked one just in case it cracked. It didn't! |
Step Three: Leave them in the oven for 40 minutes. After that turn the oven off and leave them in there awhile to cool down. Again to avoid cracking the glass from sudden temperature change.
Then you are done! Now you could just paint the glass and let dry and be done with it. Baking them just makes the paint more durable.
Find some more tips here. The possibilities with painted glass really is endless and really adds that personal touch such as candles, ribbon, flowers, floating candles, and more!


You need to be a member of BridalTweet Wedding Forum & Vendor Directory to add comments!
Join BridalTweet Wedding Forum & Vendor Directory